
This dear little piece of handwork is over a hundred years old, the work of my Great Grandmother.
It is a simple and smartly designed bag, which slips over the wrist and holds a ball of wool.
The perfect solution for keeping yarn out of harms way and making projects more portable.
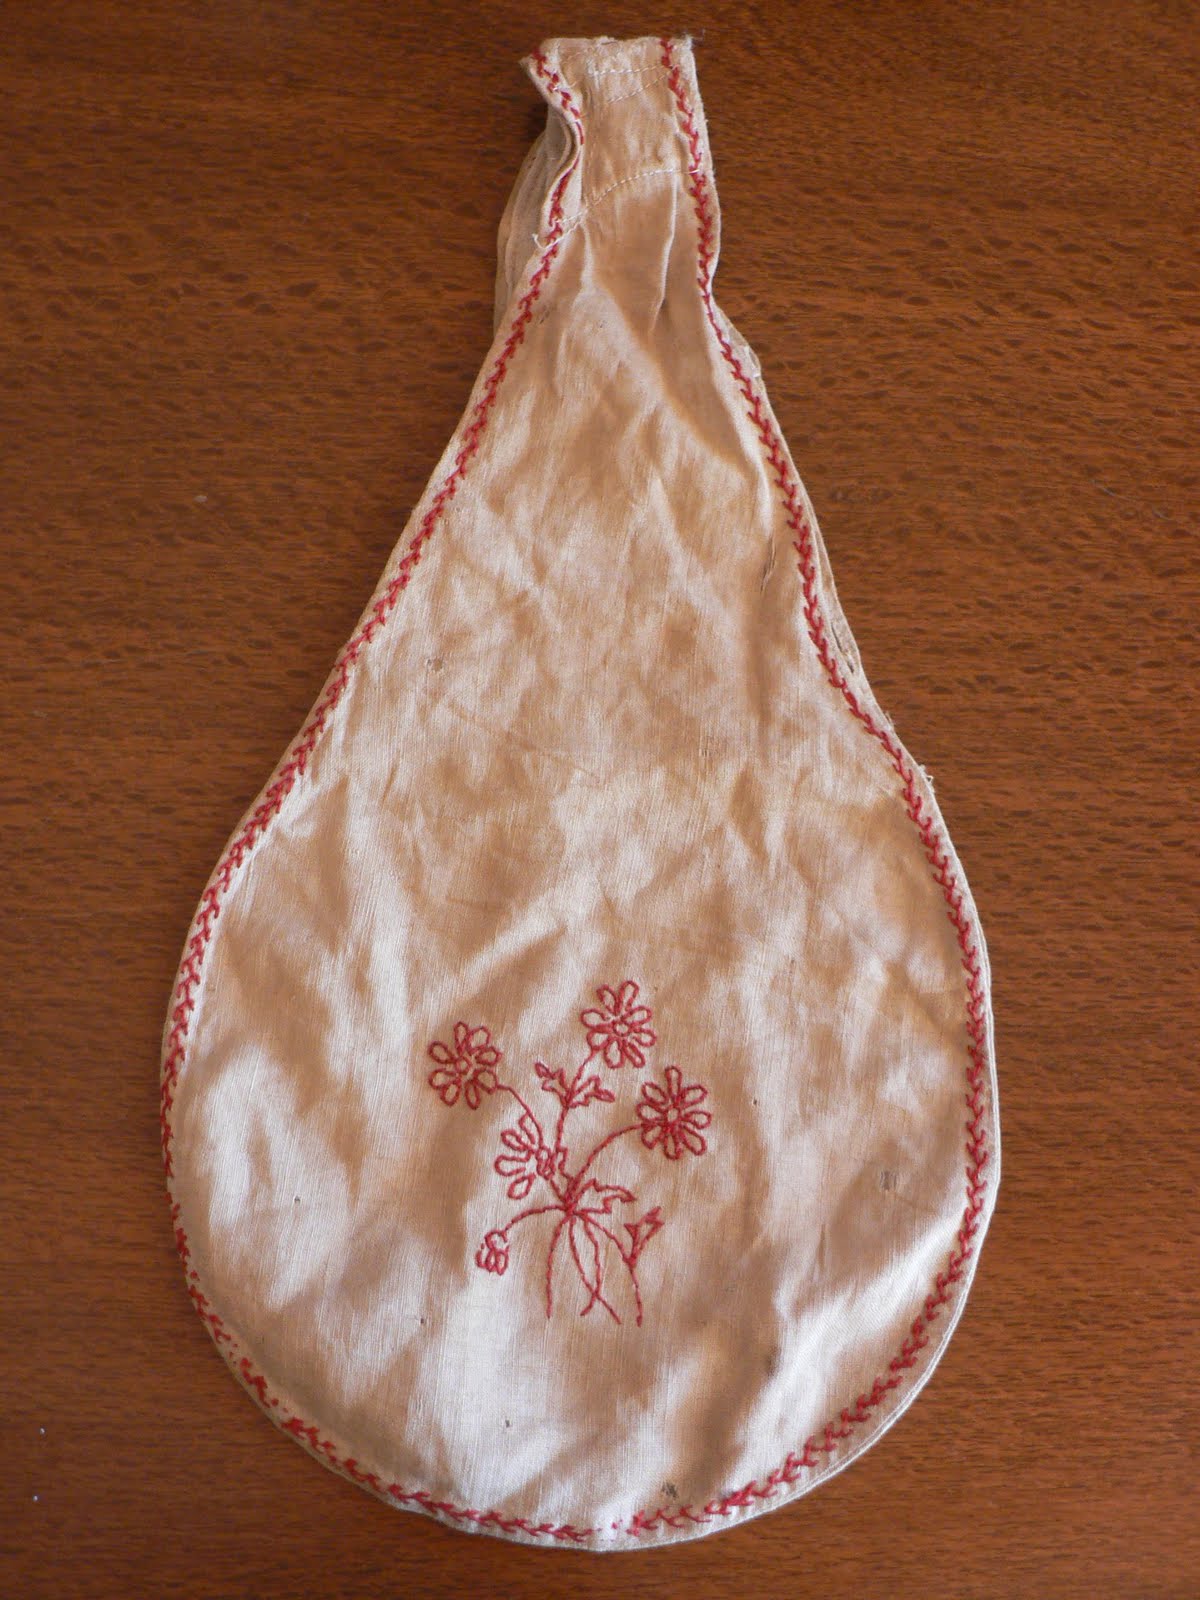 It has seen many years of use. The calico fabric has been mended time and time again.
 A reminder that it was indeed a precious item.
And still is.

 Materials

As I couldn't bear to use it, I decided to make one for myself.
I've included a little tutorial in case anyone else would like to make one for themselves.
It is a quick and easy project.
My apologies for the dark photos, but I tended to be taking them when Cohen was napping.
 Materials
0.25 meter of calico (10 inches) - which costs about $1.25 at my local craft store and is enough fabric to make two bags
DMC Embroidery Thread - Colour 321 was the closest to the original thread
Embroidery hoop
Embroidery needle
Scissors
Sewing machine - alternatively you could hand stitch
Natural coloured cotton thread
Pins
 Gather materials. Find a bowl or plate approx. 21cm wide (8 inches) and trace around the bowl and using the images above and below as a guide, draft the shape of the handle. You might like to do this on tracing paper first and then fold the piece in half and adjust it so both sides are equal. Draw outline on two pieces of fabric. Fit fabric in embroidery hoop and embroider image of your choice, or print and trace the image of the original stitching above.
 I've used a simple outline stitch.
Initials are a nice alternative.
 Stitch two pieces, so you have a back and a front and cut them out following your drafted shape.
 Fold each piece in half and make a 1 cm snip 21 cm (8 inches) from the top of the piece. Repeat on second piece of bag.
 Flatten pieces back out again.
 Join the bottom half below the snips using a French seam, thus forming the pocket at the bottom of the bag to hold the wool.
 Join the bottom half below the snips using a French seam, thus forming the pocket at the bottom of the bag to hold the wool.
Using a French seam, sew the two short edges of the handle together.
 Above the snips in the fabric, fold the raw edge under twice and pin, so the finished seam will meet up with the French seam below. Sew down. Repeat on each side. Thus forming the handle at the top of the bag. I reinforced where the two seams meet.
And here is the wool keeper, almost finished.
A quick pressing and some feather stitching around the handle and my new wool keeper is ready to hold my next project.
 I will post another photo when I am finished, but I was much to keen to share the project than to be able to wait until all the stitching was finished.
 I will post another photo when I am finished, but I was much to keen to share the project than to be able to wait until all the stitching was finished.
What do you think?
Feel free to ask any questions.
-
Please post a link if you make one of these wool keepers, I would love to see it.