
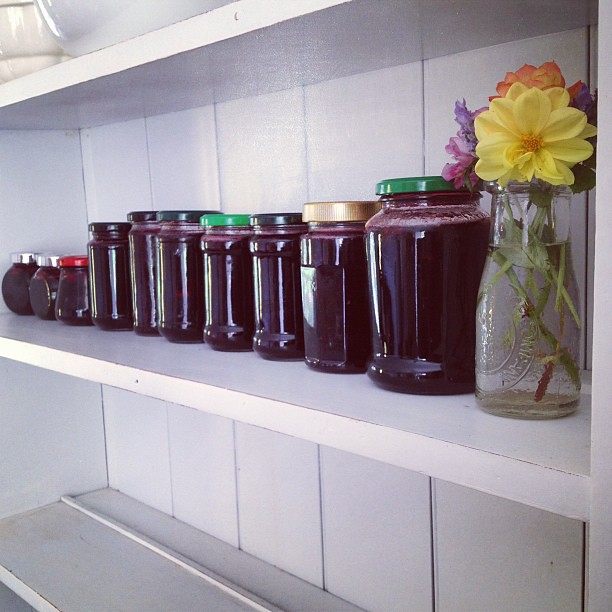

This list was inspired by Mama Shara, who asked for more info after seeing the image above in my instagram feed. She has shied away from making jam in the past, assuming she would need canning jars or specilised equipment, but with a Mulberry tree in her backyard I think she will have everything she needs. Hopefully this post will give her, and others thinking about trying their hand at jam, a gentle nudge. Nothing tastes better than homemade jam. The satisfaction of making a single jar, or a whole years worth, is a wonderful feeling indeed.
You already have all that you need to make jam. When I first made jam I too thought I would need specialised equipment to make it. I went and brought jars and scales, and thought I would wing it with what I had until I could afford to buy jar tongs, thermometers and the like. Now I know better. If you have any or all of those things, great, use them. If not, don't worry, nearly every kitchen already has what you need to make jam. A stock pot, a wooden spoon, a knife, a saucer, kitchen tongs and some empty jars. And while I love the look of matching Mason jars all in a row like something from a magazine, part of making jam for me is about being thrifty and recycling. So, I save up our old jars - olives, ginger, pickled onions, whatever we bring in to the house - and use them.
Cleaning jars is simple. You don't even have to take the labels off if you don't want to. To make sure the jars are sanitized you can pop them in the dishwasher while you are making your jam, then spoon the finished jam in to the still warm jars. You can boil the jars in a big saucepan. Or you can wash them by hand and pop them in a low oven until you are ready to use them. You just want clean jars so that you can store your jam for up to a year without it spoiling. And you don't want to put hot jam in a cold glass jar, just in case it cracks. (I'm yet to have this happen to me. But why risk it?)
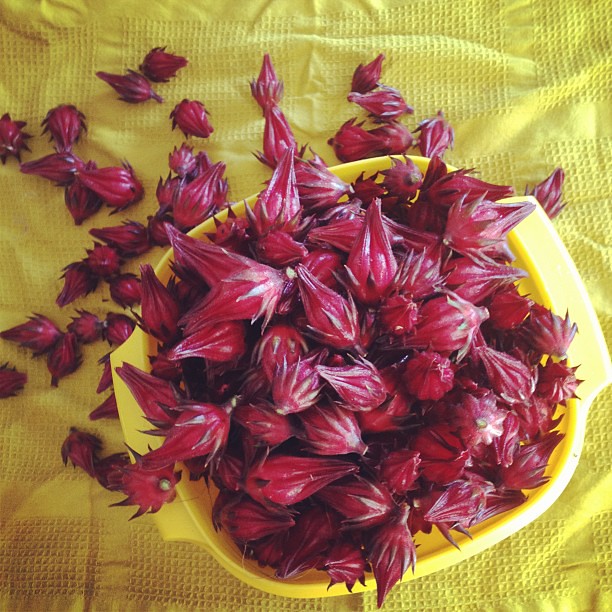
Pectin is to jam what gelatin is to jelly. Reading about jam and words like 'pectin' and 'gelling temperature' scared me off jam making for awhile. I wasn't confidant about my kitchen skills. And while making jam will make you feel like a domestic goddess, anyone that can cut fruit and boil water can make jam. It's true! And the more jam you make the better you will get at it. All you need to know is that pectin helps jam set. Not enough pectin, is like not enough gelatin, it just won't set. Any jam recipe you look at though will tell you what to put in to get it to set. Rosellas have pectin in their seeds, so you simmer them in water, chuck out the seeds and use that water to make your jam. Isn't Mother Nature wonderful? Strawberries have their own pectin in them too. And gelling temperature? That's just how hot the jam needs to get for it to set. Like making jelly, the gelatin needs to dissolve so the jelly sets. Cold water and gelatin won't make jelly. Do you need to know what temperature the jam needs to be for the sugar to dissolve? Nope, you can tell by looking, or dipping in your spoon and running your finger over the spoon and feeling for the little grains. Do you need to know the precise temperature that jam sets at? Nope. Just use a cold saucer.
The saucer trick works. Yes, a saucer or plate popped in the freezer is all you need to test if your jam is ready. It's hard to tell just by looking at a boiling saucepan of jam if it is going to have the right consistency once it is cool, so cool a few drops. Dip your wooden spoon in and drip a few drops on your cold plate. If the drops cool and stay runny, you need to boil your mixture for longer. If you can push your finger nail through the drips and they wrinkle up, and look jam-like, it's ready. Don't worry if you have to test a few times. Pop the plate back in the freezer, give it another five or ten minutes and try again.
You can fix your mistakes. Short of burning the jam (which you will smell!), you can fix the problems you may face when making jam. Jam didn't set? Boil it a little longer. Jam set too thick? Stir though some apple juice to get it to the right consistency. Jam is more forgiving than you may think. If in doubt, google is your friend. Jam makers love giving advice - see above and below. :) Rhonda is a fountain of information.
Homegrown makes sense. Making jam from store brought fruit is great. You can choose whatever you want buy. Strawberries can be quite cheap in season. You can make your own mixes too - say a punnet of raspberries, strawberries and apple. But, to make jam that is more economical and free of pesticides or chemicals, you really need to grow your own fruit, or have family, friends or neighbours who will share their produce with you. What could be better than homegrown? We are lucky enough to have neighbours with a mandarin tree who hand plastic bags full of fruit over the fence. Another friend shares the fruits from her prolific lemon tree. My sisters Mother in Law has a big, beautiful Mulberry tree, lemon and orange trees and sends my sister home with big bowls and bags of fruit, knowing I love to make jam.
I had grand visions of growing enough strawberries to make jam. My little ones had small visions of daily snacks in the garden. No jam was forthcoming. Instead I planted Gooseberry, Rosellas and a Mulberry tree. I believe I would probably have to devote half my yard to strawberry plants in order to grow enough to make a years worth of jam. But three Rosella bushes, which take up a couple of meters each, produced more than enough fruit to preserve a years worth of jam, and more to share. Come September my two year old Mulberry should be producing enough fruit for me to preserve and freeze too. You can also use frozen fruit. If on't have time to make the jam right away, but have a tree full of fruit, or don't have enough fruit to make jam yet, freeze the fruit and make jam when you have a bit of time.
Only fill the stock pot half way! If you have a lot of fruit you will need to cook it in batches. Jam bubbles up like crazy when it is on the boil, and sticky jam all over your stove is not a great look. It also helps keep your ratios right if you cook it in batches of about three cups of fruit. And remember how I said you don't need scales? The basic rule of jam is one cup of fruit to one cup of sugar. Instead of weighing your fruit and sugar, just use a measuring cup. If you have two and a half cups of fruit, use two and a half cups of sugar.
Your stock pot is your water bath. If you make one or two jars of jam, pop them in the fridge and use them. If you make several pots of jam, in order to ensure there are no germs in you jars that will spoil the contents over time, you need to pop the jars in to a stock pot (or the biggest pot your own) of boiling water and leave them in there for up to two hours (it will take up to an hour for the boiling water to return to the boil depending on the size of the pot and the number of the jars, then you want your jars to sit in the boiling water for about an hour. If the pot is not large enough to allow an inch of water over the top of the jars don't worry, you can turn the jar upside down and just process them for a bit longer. I tend to use those jars up first though, just in case. Rhonda talks about this too, here.
Filling the jars. You can buy fancy wide mouth funnels to make filling your jars easier and less messy. Or, like me, you can cut the bottom off a cheap kitchen funnel from your local supermarket. Or use a measuring cup with a lip, scoop up the jam and pour it in. Wipe the mouth of the jar before you put the lid on if any has spilled.
Kitchen tongs make good bottle tongs. Again, you can buy specilised bottle tongs to pick up your hot jars of jam out of the boiling water, or you can use your good old kitchen tongs and pick up the bottle by the lid and pop a tea towel under it to hold it and move it to where you want it to cool.
-
I hope that the information above has given you the confidence to give it a go and turn seasonal fruit in to a year long treat. Any questions, please feel free to ask in the comment. Fellow jam makers, please feel free to leave any tips, advice or recipes of your own in the comments section too!