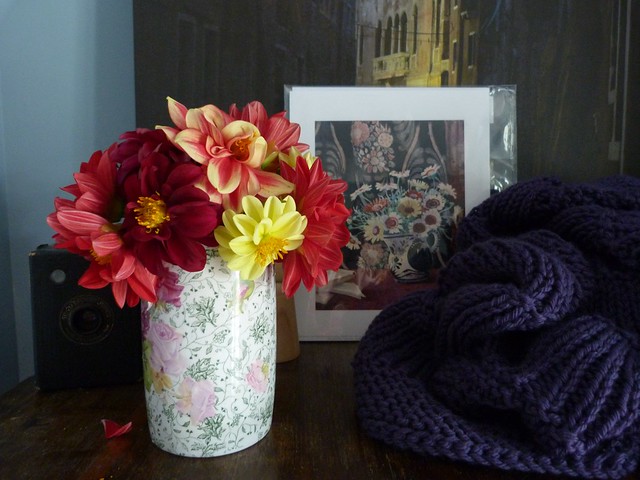
I've been asked a few times how to make advertising buttons for blogs. And while I'm no computer expert, the following is the simplest way that I have found to do it, so I thought I would share. I use picmonkey.com, a free online photo editing program, to turn a photo like the one above into an advertising image like the one below. I also use picmonkey to make my blog headers and some of my image mosaics.
This image is 170 x 170 pixels
To start, open picmonkey and click Edit an image. A pop up window will allow you to select an image from your computer. Using the editing tools in the left side bar (see image below) you can now change the contrast, add filters and play with your image. Then, to make the image smaller and square like the example above, select Crop and change the numbers in the box so that they are both the same - we want a square image - it doesn't matter at this point what the numbers are. I used 2243. Then click on Scale photo. This way the image window will stay square and you can adjust how big or small you want the square crop to be. When you are happy click Apply. If you change your mind you can always go back with the curved arrow keys above the image.
To resize the image, simply go to Resize and type in 170 in each box.
Then, to add text, click on the P on the furtherst left of the screen and choose your font. You can change the size, colour, transparency etc of the font with the Text box on the right and the white guidelines around the text itself.
When you are happy save your work and you are done! Simple, yes?
Once you have your image, to add it to the side bar on your blog, log into your blogger dashboard and from there go to layout. Click Add a gadget, select Image, un-check Shrink to fit, choose the image file from the computer, copy and paste the link you want the image to link to and then save it. Then move it in to position on your layout, save arrangement and ta-dah, it's done.
I hope that all makes sense! Feel free to ask any questions you might have.
Do you use a different method? Is it easier, or does it have more options? Feel free to share in the comments.
-
PS. And to make a screen shot on your laptop like I have done above, press Ctrl and PrntScr at the same time, open a Paint document and click Paste, then Save. To edit out the screen tab bars at the top and bottom of the screen shots (you'll see what I mean if you make a screen shot) I cropped the images in picmonkey. :)


